flutter 에서 Globalkey 를 이용하여 위젯의 크기와 위치를 구하는 방법.
크기를 구할땐 LayoutBuilder 위젯도 있다. 여기선 GlobalKey 로 구하는 법
베이스 코드
// ...

GlobalKey _redBoxKey = GlobalKey();
GlobalKey _greenBoxKey = GlobalKey();
GlobalKey _blueBoxKey = GlobalKey();


@override
  Widget build(BuildContext context) {

    return Scaffold(
        body: SafeArea(
      child: Column(
        mainAxisAlignment: MainAxisAlignment.spaceAround,
        children: [
          Center(
            child: Container(
              key: _redBoxKey,
              height: 40,
              width: 40,
              color: Colors.red,
            ),
          ),
          Center(
            child: Container(
              key: _greenBoxKey,
              height: 100,
              width: 40,
              color: Colors.green,
            ),
          ),
          Center(
            child: Container(
              key: _blueBoxKey,
              height: 40,
              width: 100,
              color: Colors.blue,
            ),
          ),
        ],
      ),
    ));


    //...
일단 GlobalKey 를 선언하여 widget 에 key 를 할당해준다. 그 후 진행
1. 크기
// ...

_getSize(GlobalKey key) {
    if (key.currentContext != null) {
      final RenderBox renderBox =
          key.currentContext!.findRenderObject() as RenderBox;
      Size size = renderBox.size;
      return size;
    }
  }

// ...
key 를 이용하여 RenderBox 를 구하면 RenderBox에서 size 를 구할 수 있다.
// ...

    final redBoxSize = _getSize(_redBoxKey);
    final greenBoxSize = _getSize(_greenBoxKey);
    final blueBoxSize = _getSize(_blueBoxKey);

    print('red box size : ${redBoxSize.width} ${redBoxSize.height}');
    print('green box size : ${greenBoxSize.width} ${greenBoxSize.height}');
    print('blue box size : ${blueBoxSize.width} ${blueBoxSize.height}');

// ...

//    I/flutter ( 5007): red box size : 40.0 40.0
//    I/flutter ( 5007): green box size : 40.0 100.0
//    I/flutter ( 5007): blue box size : 100.0 40.0
2. 위치
// ...

_getPosition(GlobalKey key) {
    if (key.currentContext != null) {
      final RenderBox renderBox =
          key.currentContext!.findRenderObject() as RenderBox;
      final position = renderBox.localToGlobal(Offset.zero);
      return position;
    }
  }

 // ...
크기와 비슷하다. renderBox 의 localToGlobal 함수를 이용한다.
Offset.zero 즉. 위젯의 좌상단을 기준으로 global 포지션을 구하는 방식이다.
// ...

    final redBoxPosition = _getPosition(_redBoxKey);
    final greenBoxPosition = _getPosition(_greenBoxKey);
    final blueBoxPosition = _getPosition(_blueBoxKey);

    print('red box posiiton : ${redBoxPosition.dx} ${redBoxPosition.dy}');
    print('green box posiiton : ${greenBoxPosition.dx} ${greenBoxPosition.dy}');
    print('blue box posiiton : ${blueBoxPosition.dx} ${blueBoxPosition.dy}');

// ...

// I/flutter ( 5007): red box posiiton : 0.0 147.71428571428572
// x축 확인을 위해 redbox 를 맨 왼쪽으로 붙인 상태이다
// I/flutter ( 5007): green box posiiton : 185.71428571428572 384.8571428571429
// I/flutter ( 5007): blue box posiiton : 155.71428571428572 682.0
'Frontend > Flutter' 카테고리의 다른 글
| Flutter doctor - Android Studio (not installed) 해결 (7) | 2021.05.22 |
|---|---|
| [Flutter] listview 이전 아이템들 렌더링 유지하기 (19) | 2021.05.21 |
| [Flutter] Unhandled Exception: Bad state: Insecure HTTP is not allowed by platform (15) | 2021.04.27 |
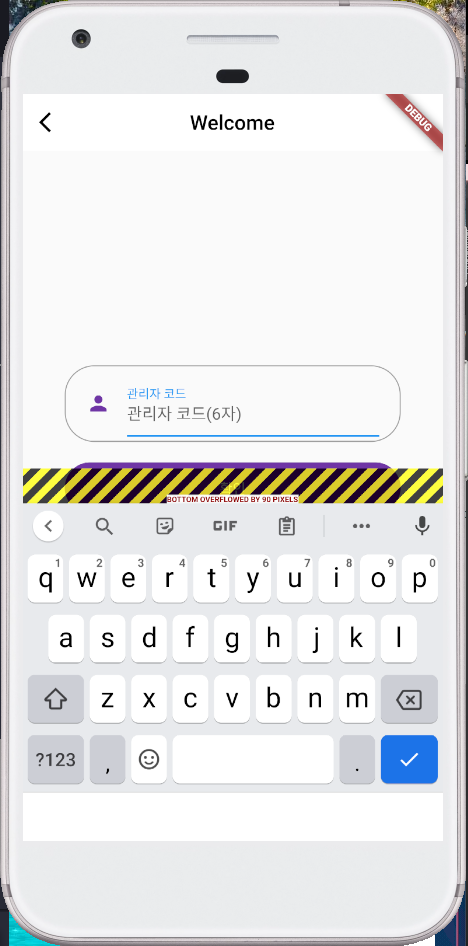
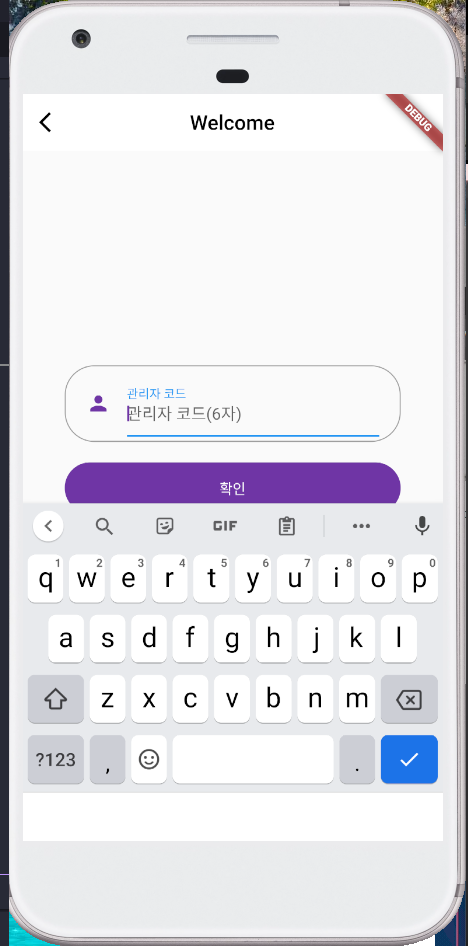
| [Flutter] keyboard bottom overflowed -- by pixels (8) | 2021.04.23 |
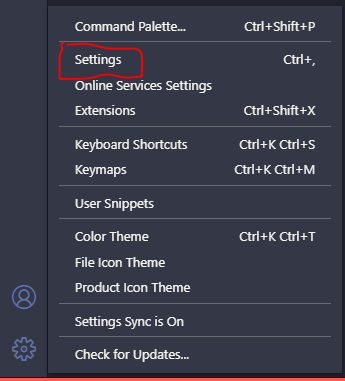
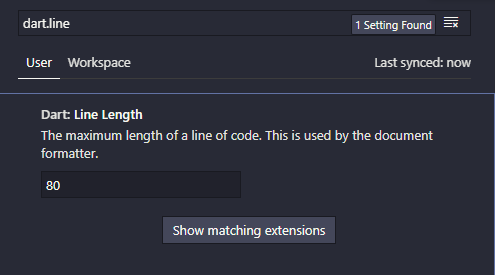
| [Dart] VScode 자동 줄 바꿈 글자 수 수정 (14) | 2021.04.20 |